 LayerCut
Export and LightBurn
LayerCut writes one file per sheet, in LightBurn's own format, SVG, or both, plus an assembly guide.
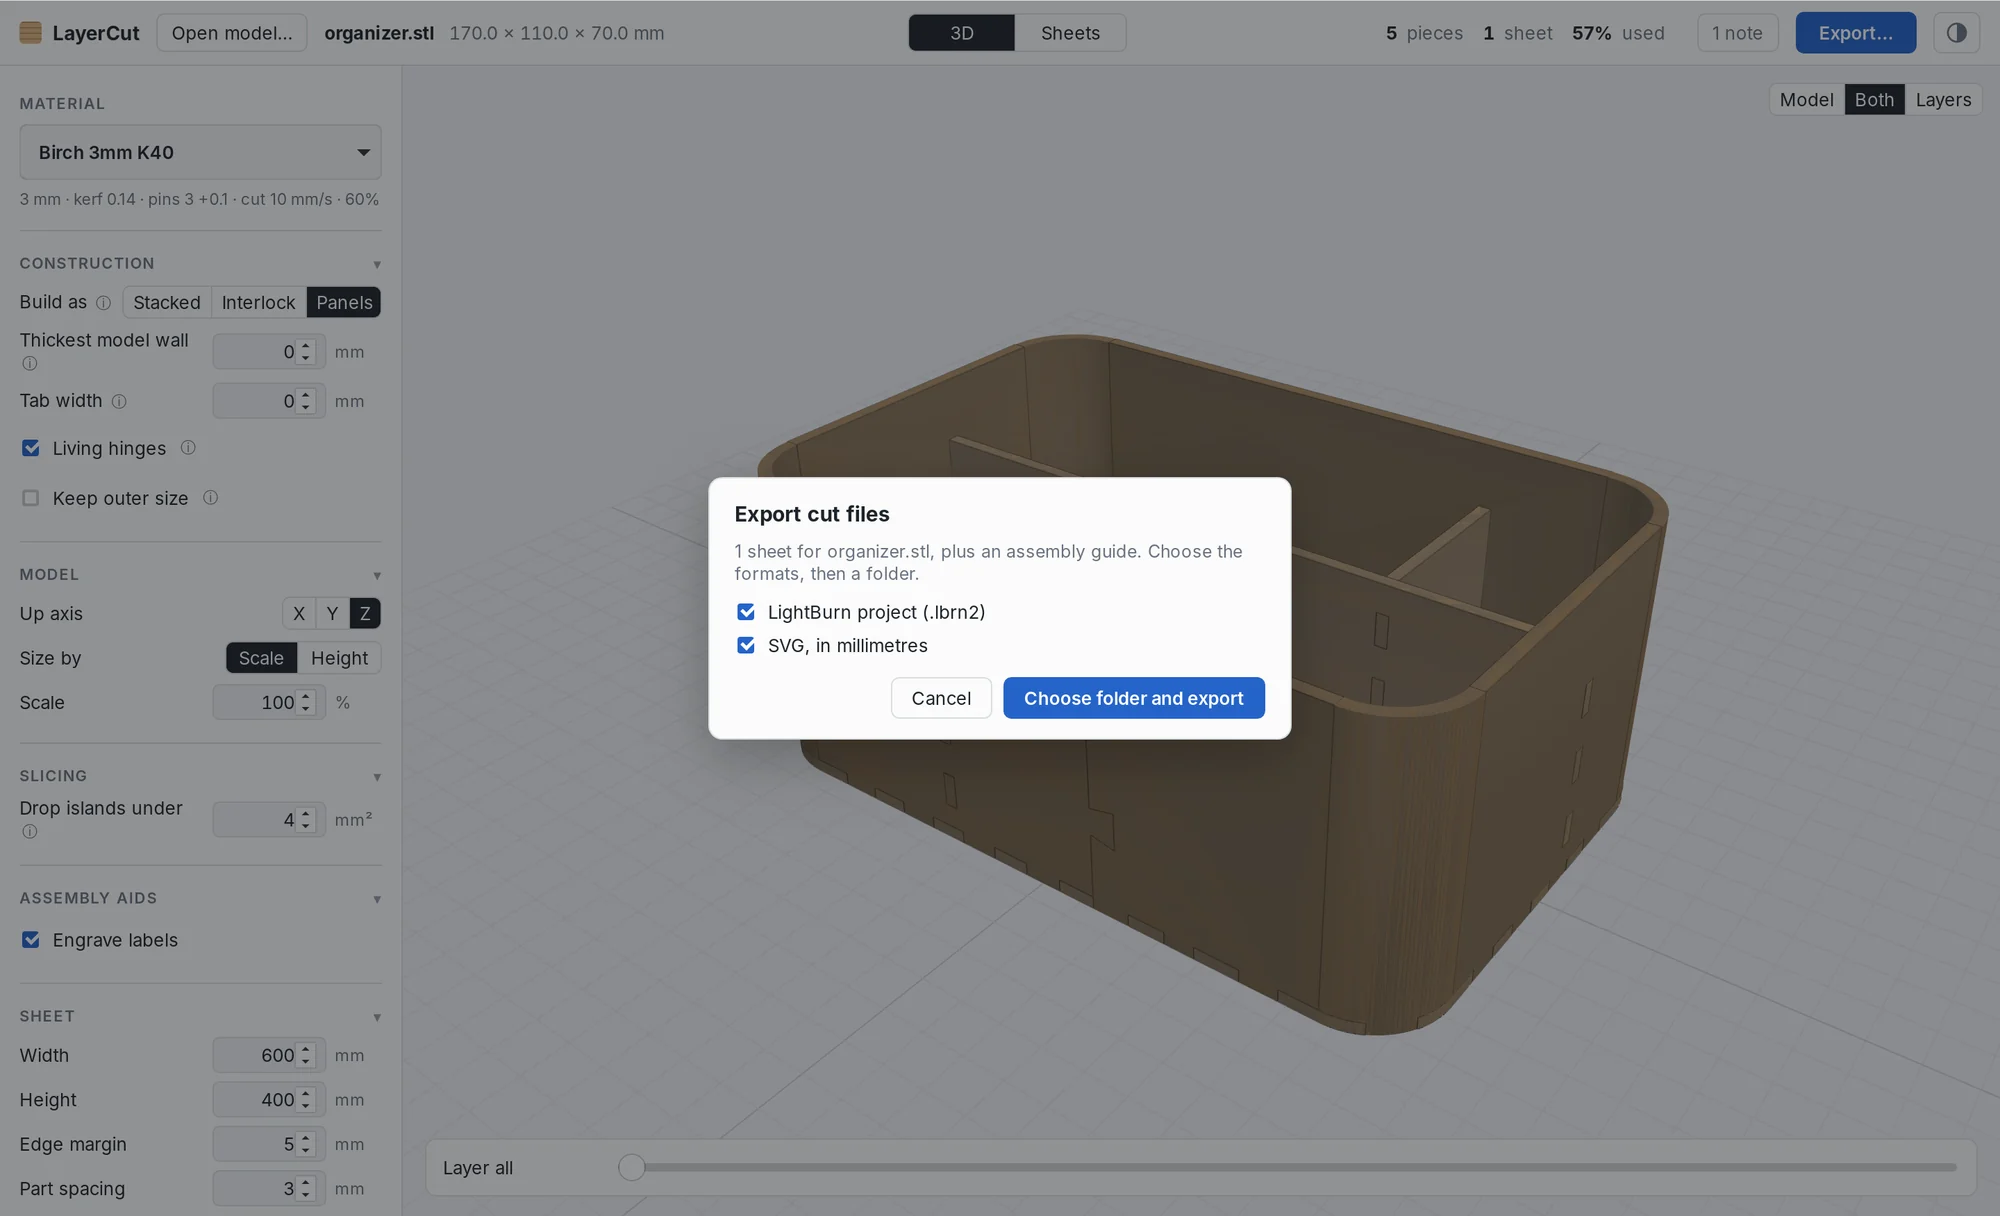
Exporting
Click Export… in the top bar, or choose File → Export Cut Files (⌘E). Tick the formats you want, then click Choose folder and export. When it's done, LayerCut offers to show the files in Finder or Explorer.
The files
For a model called vase, cut on two sheets:
| File | What it is |
|---|---|
vase-sheet01.lbrn2, vase-sheet02.lbrn2 |
LightBurn projects, one per sheet |
vase-sheet01.svg, vase-sheet02.svg |
SVG files, one per sheet |
vase-assembly.txt |
The assembly guide |
LightBurn projects (.lbrn2)
Open them with File → Open in LightBurn, or drag them onto LightBurn.
- Coordinates are stored in millimeters, so there's no DPI setting to get wrong.
- Engraving and scoring are on layer C01 (blue), which runs first so the sheet doesn't shift before the labels are done.
- Cuts are on layer C02 (red).
- Each layer's speed, power and passes come from your material.
The laser settings in a new material are only starting values. Check them for your machine, lens and sheet before cutting.
LightBurn exports need LayerCut Pro once version 1.0 is released. During the beta they're unlocked.
SVG
Every edition exports SVG. The files declare their size in millimeters, with a matching millimeter view box, so they import at true size in LightBurn, Inkscape, Illustrator, xTool Creative Space and Glowforge, whatever the program's DPI setting.
The colors follow the usual convention: red (#FF0000) to cut and blue (#0000FF) to engrave or score. In most laser software you assign a layer to each color once, then reuse it.
Before you cut
- Check the sheet size in LightBurn matches your stock.
- Run a frame to check the job fits on the material.
- Cut the first sheet and check a slot or pin fit before cutting the rest.